
 Cassettefrom $1,312

Can you install a mini split yourself?
Short answer: Yes, most handy homeowners can install a MRCOOL DIY mini split themselves, because the pre-charged Quick Connect line sets take the vacuum pump, the gauges and the HVAC tech out of the job. The piece you may not be allowed to do is the electrical circuit from your panel, and many towns want a permit, typically $50 to $300. Run the 9-point self-check below before you order.
What does "DIY" cover on a MRCOOL system?
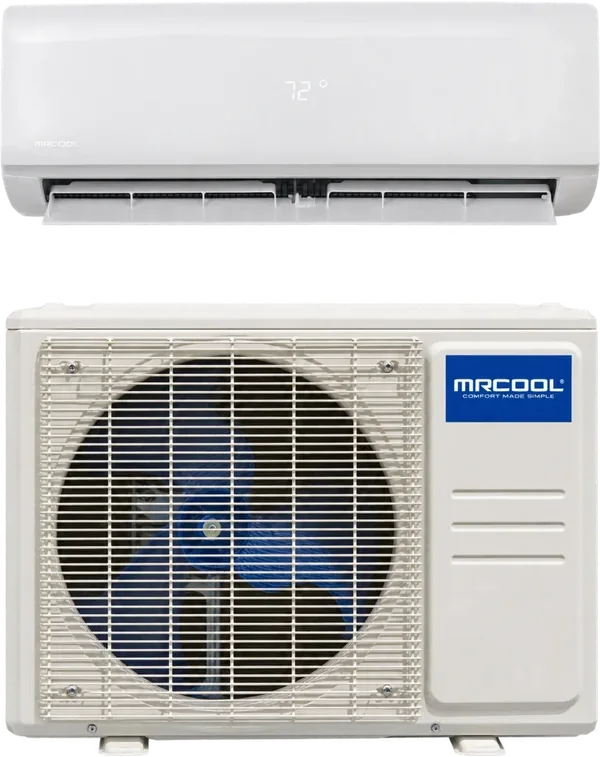
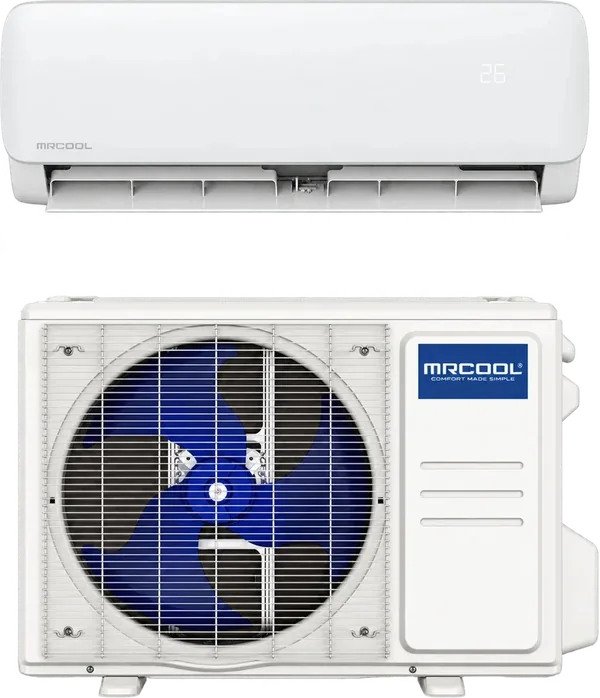
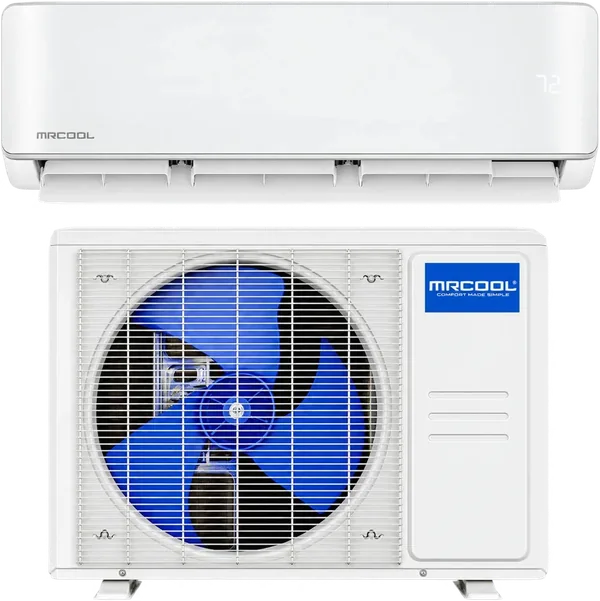
On a standard mini split, an HVAC tech flares copper tubing, pulls a vacuum on the lines and checks the refrigerant charge. MRCOOL DIY Select, DIY EasyPro and DIY 5th Gen skip all of that.
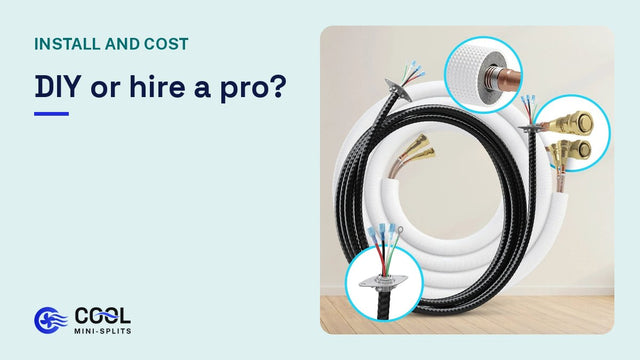
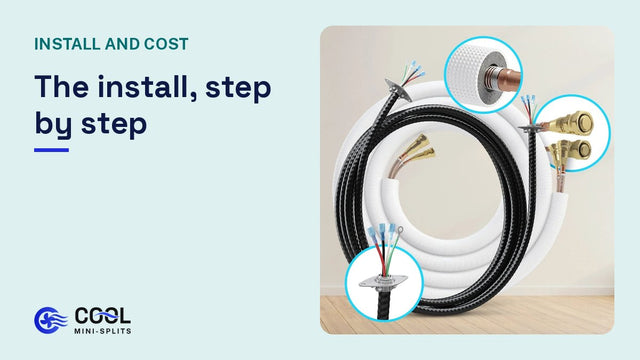
Their line sets arrive already filled with R-454B refrigerant and sealed with Quick Connect fittings. You thread each fitting onto the unit and tighten it. There's no refrigerant to add and nothing to evacuate.
That leaves three jobs for install day:
- Mounting: the indoor wall plate, a 3 in hole through the wall, and the outdoor unit on a pad or wall bracket.
- Connecting: the line set, the condensate drain hose and the cable between the two units.
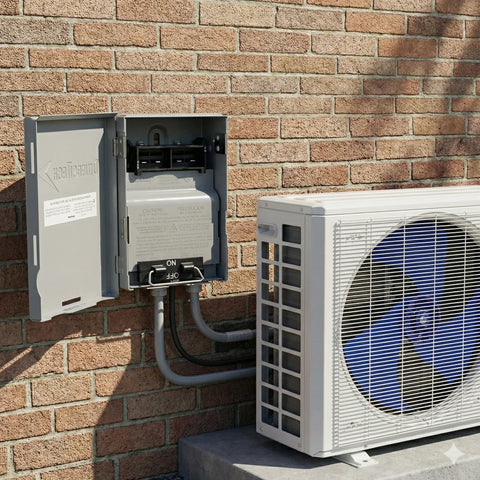
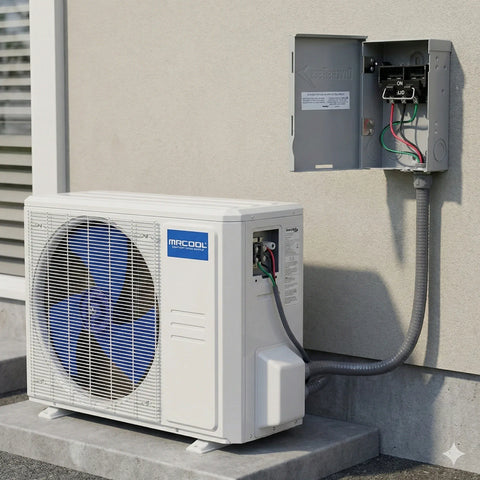
- Power: a dedicated circuit from your panel, a breaker, and a disconnect switch by the outdoor unit.
Mounting and connecting are carpentry and careful hand work. Power is electrical work, and that's where local rules come in.
Self-check: are you ready to install it yourself?
Go down this list honestly. If you can tick every box, you're a good candidate for a full DIY install. Two or more no answers usually mean you should hire out part of the job.
- I can find studs, mount a bracket level and drive screws into framing.
- I've drilled through an exterior wall before, or I'm comfortable cutting a 3 in hole through siding, sheathing and drywall.
- I have a helper for a few hours. The outdoor unit is heavy and awkward for one person.
- I can follow a wiring diagram and match numbered terminals on two units.
- I'll read the installation manual for my exact size before I drill anything.
- I can tighten fittings to a torque spec instead of "good and snug".
- I know whether my town lets a homeowner wire a new circuit, or I have an electrician lined up.
- My outdoor spot is on the ground, or on a wall I can reach safely from a ladder.
- I can give the job a full day, since a first install takes about that long.
Most people we talk to clear the carpentry items easily. The ones who stall get stuck on the electrical question or on a second-story wall.
What tools do you need?
Nothing here is HVAC-specific. Most garages already have half of it.
| Tool | What it's for | Notes |
|---|---|---|
| Drill/driver | Wall plate screws, pilot holes | A strong cordless drill is fine |
| 3 in hole saw | The wall hole for the lines and drain | Use a core bit for brick, block or stone |
| Stud finder and level | Placing the wall plate | A level plate keeps the drain flowing |
| Open-end wrenches | Quick Connect fittings | Two at once: one holds, one turns |
| Torque wrench | Tightening fittings to the manual's spec | Optional, but it removes the guesswork |
| Basic electrical tools | Stripping and landing the interconnect cable | Add a non-contact voltage tester |
| Ladder, tape measure, utility knife | Everything else | A second ladder helps if two people lift |
Watch it before you order and ask yourself whether each step, from the wall plate to the line set, looks like work you'd be comfortable doing.
What you won't need: a vacuum pump, micron gauge, manifold gauges, flaring tool or nitrogen tank. Those are the tools that make a regular mini split a pro job.
Next: what does a DIY mini split cost once you add up every part?
Do I need an electrician?
Often, yes, for one piece. Every MRCOOL DIY system needs its own dedicated circuit from your panel, a breaker, and a disconnect switch mounted within sight of the outdoor unit.
Many states and towns require a licensed electrician for a new circuit. Some let homeowners wire their own house with a permit. Call your building department before you decide.
Voltage depends on size. The 9K and 12K models in all three lines run on 115V. The 18K and 24K models, and the 5th Gen 36K, need 230V. Breaker size and wire gauge change by model, so see the installation manual for your size on our single zone manuals page. Don't go by a chart on a forum.
A typical electrician visit for one mini split circuit lands in the few-hundred-dollar range, and more if your panel is far from the outdoor unit or already full.
The disconnect, the whip from the disconnect to the outdoor unit, the breaker and the wire from the panel are not included with any system. We sell the 60A non-fused disconnect switch and the non-metallic whip, so your electrician has them on hand.
Do you need a permit to install a mini split?
That depends on your town. Some want a mechanical permit for the unit, many want an electrical permit for the new circuit, and a few want both. Typical permit fees run about $50 to $300.
If an electrician runs the circuit, they usually pull the electrical permit as part of the job. Live in an HOA? Check its rules on outdoor units and line set covers on the street side of the house too.
Does a DIY install void the MRCOOL warranty?
No. MRCOOL built these three lines for homeowner installs, and the warranty covers a DIY install when you register the system. Coverage is for the original registered owner.
| Line | Parts | Compressor |
|---|---|---|
| DIY Select | 1 year | 2 years |
| DIY EasyPro | 3 years | 5 years, lifetime option |
| DIY 5th Gen | 5 years | 7 years, lifetime option |
The lifetime compressor options need registration plus MRCOOL's paid Care program. Full warranty documents sit on the manuals pages, and our warranty registration guide walks through the steps.
Take photos as you go: the wall plate, each fitting, the disconnect, the finished outdoor unit. If you ever file a claim, those pictures show the work followed the manual.
Who should hire out the install?
A DIY install saves money only if it's done right the first time. We'd tell a friend to hire help for that part of the job if any of these fit:
- The outdoor unit would hang on a wall bracket at second-story height. Ladder work with a heavy unit is how people get hurt.
- Your wall is brick or stone and you've never used a core bit.
- Your panel is full or old, so you'd need a subpanel or service upgrade anyway.
- You're planning a multi-zone system with line sets through finished ceilings or an attic.
- You have a bad back, bad knees or no helper.
None of these rule out a DIY system. They just mean someone else handles that piece while you do the rest.
Next: which parts of the install should you do, and which should you hire?
What if my house doesn't fit the usual case?
What if the line set in the box is too short?
DIY Select and DIY EasyPro come with an 11.5 ft line set, and the DIY 5th Gen with 25 ft. A longer run doesn't rule out any of the three: separate pre-charged line sets come in 16, 25, 35 and 50 ft, and a coupler kit takes you to 66 or 75 ft. On a Select or EasyPro, check the line set chart in your system's manual for the exact part.
The difference is cost. A 12 to 25 ft run means buying a line set for a Select or EasyPro, while the 5th Gen already has 25 ft in the box. The lines can't be cut, so extra length gets coiled neatly. Our line set length guide shows how to measure the route.
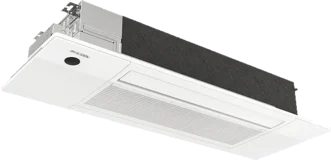
What if I want a ceiling cassette instead of a wall unit?
A cassette means working in the attic or between joists and running a condensate drain overhead. It's still a homeowner job for many people, with more carpentry. See the cassette install steps before you decide.
What if I rent or own a condo?
Get written permission from the landlord or the association first. A 3 in hole through an exterior wall and a unit on a shared wall or slab are usually their call.
What to do before you order
Measure the path from the indoor spot to the outdoor spot. Call your building department about the permit and about who may wire the circuit. Then pick a size with our sizing guide and compare lines on the line comparison chart.
Stuck between two sizes? Call us at +1 (844) 999-9725, Monday to Friday, 9 AM to 5 PM EST. That line is for sizing and choosing a system. For install questions, use the manual for your size and MRCOOL support at support.mrcool.com.