
 Cassettefrom $1,312

How do you install a MRCOOL DIY mini split, step by step?
Short answer: This MRCOOL DIY mini split installation guide puts the single zone job in the order that avoids do-overs: check the boxes, read the manual for your size, plan both spots and the line route, book the electrician, then mount, drill, set the outdoor unit, connect, wire and start up. A first install takes about a day with a helper. Every clearance, wire size and breaker size comes from the installation manual for your size, not from this page.
What are you installing?
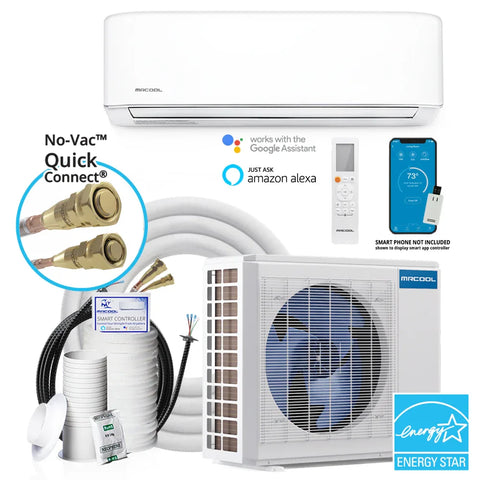
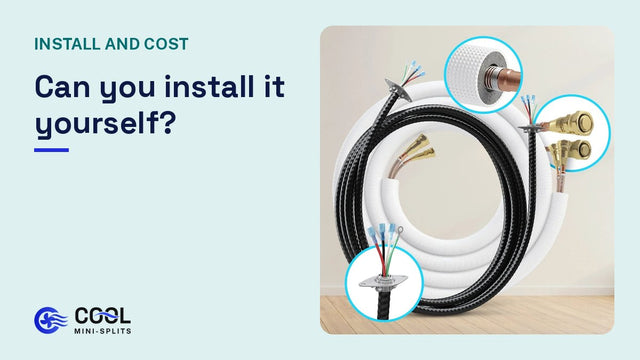
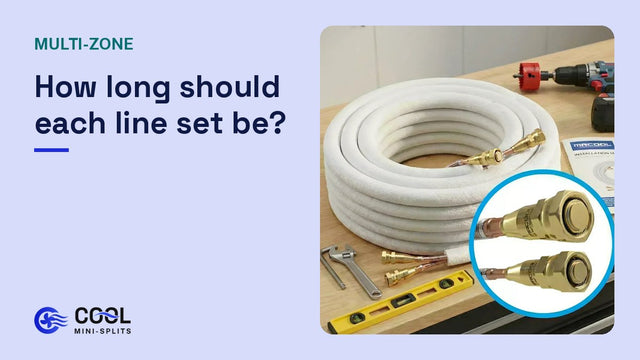
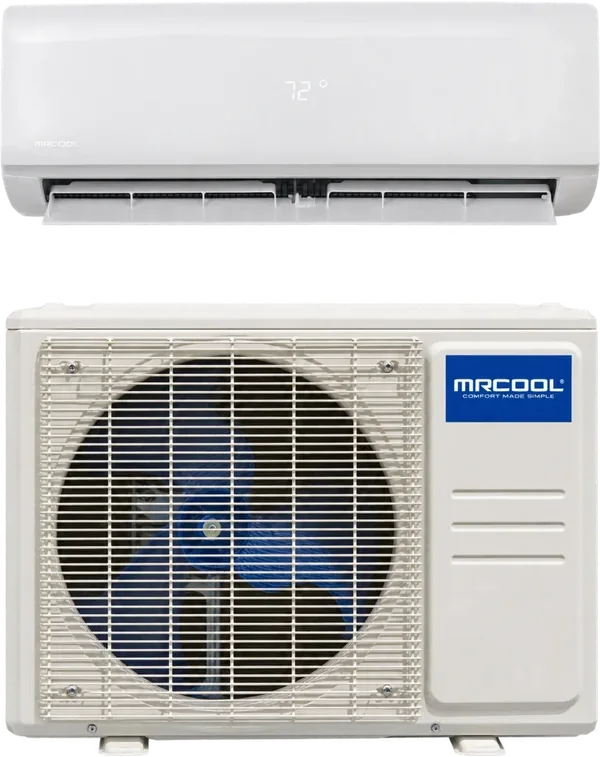
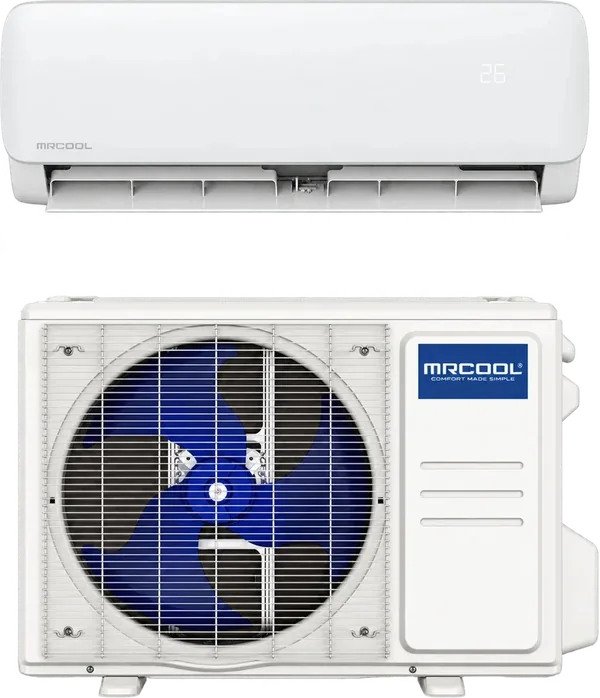
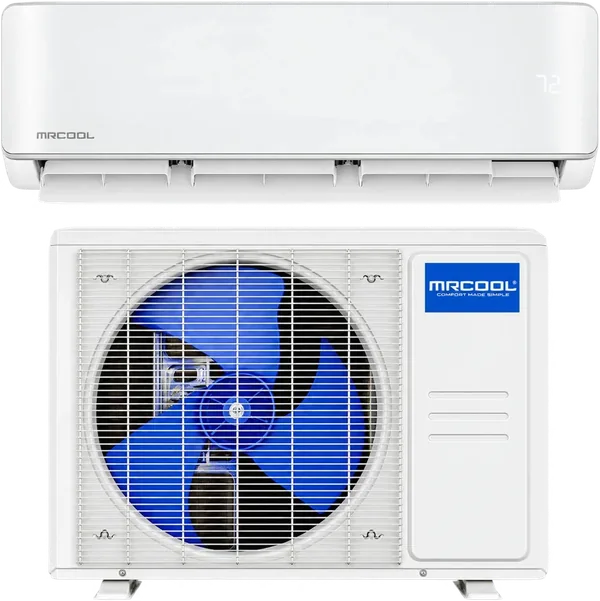
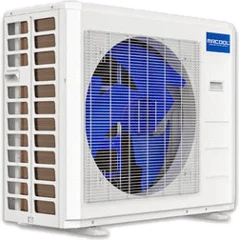
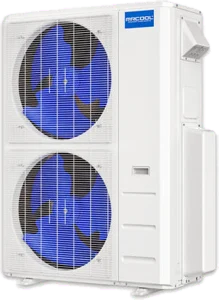
A DIY 5th Gen single zone system is an indoor wall unit, an outdoor unit, a remote and a 25 ft pre-charged Quick Connect line set. The line set is already filled with R-454B refrigerant, so there's no vacuum pump, no gauges and no refrigerant to add.
The 5th Gen also uses DIYPro armored cable between the indoor and outdoor units, so that run doesn't need conduit. Sizes are 9K and 12K on 115V, and 18K, 24K and 36K on 230V.
What's not in the box: the disconnect switch, the whip from the disconnect to the outdoor unit, a pad or wall bracket, a line set cover, the breaker and the wire from your panel. Order those with the system so install day doesn't stop halfway. They're all in our accessories collection.
The DIY Select and DIY EasyPro follow the same basic order, with an 11.5 ft line set instead of 25 ft. Longer runs on those lines use a separate pre-charged line set and, past 50 ft, a coupler kit, just like the 5th Gen; check the line set chart in your system's manual for the exact part. Use that line's own manual for every number.
Why does the order of work matter?
Most install-day problems come from doing a step before the step it depends on. Three examples we hear about:
- Drilling the wall hole before checking the outdoor spot, then finding the line set won't reach a level patch of ground.
- Hanging the indoor unit, then finding the drain hose has to run uphill to get out of the wall.
- Finishing everything except power, then waiting two weeks for an electrician.
The line set is the reason planning comes first. It's pre-charged and can't be cut, so the spots you choose have to work with 25 ft, or with a longer set you order ahead of time.
What should you do before install day?
- Check every box on delivery, before you sign. If one box is damaged, refuse only that box and keep the rest.
- Download the installation manual for your exact size from the single zone manuals page and read it once, start to finish.
- Mark the indoor spot and the outdoor spot, and measure the line route between them.
- Confirm the drain hose can run downhill the whole way from the indoor unit to the outside.
- Book the electrician and ask your town whether you need a permit.
- Line up a helper for setting the outdoor unit.
- Have the tools ready: drill, 3 in hole saw (core bit for masonry), level, stud finder, two wrenches, a torque wrench if you have one, basic electrical tools, ladder.
How do you install it, step by step?
Watch it once end to end before install day, then follow the written manual for your size for every number.
Step 1: Check the boxes and the parts
Open the cartons and lay everything out on a clean floor. Find the line set, the remote, the cable, the mounting hardware and the manual before you pick up a drill.
Leave the protective caps on the Quick Connect fittings. They stay on until the moment you connect each one, which keeps dirt out of the refrigerant circuit.
Step 2: Read the manual for your size
Clearances above and beside the indoor unit, clearances around the outdoor unit, wall hole position, torque values, breaker size and wire size are all in the manual. They differ between sizes, so a 9K manual won't tell you the right numbers for an 18K.
Flag the pages with clearances and the wiring diagram.
Step 3: Pick the indoor spot
An exterior wall is easiest, because the lines and drain go straight out through one hole. Use the stud finder to see where the framing is, and check above the spot for the ceiling clearance the manual asks for.
Think about airflow too. The unit blows across the room, so a spot on the long wall facing the room's main area works better than a corner behind a door. Our 5th Gen guide has more on placement.
Step 4: Pick the outdoor spot and plan the route
Pick a spot with the clearances from the manual on every side, solid ground or a wall that can take a bracket, and room to reach the service side later. Avoid spots under a roof edge that dumps water or snow.
Now measure the route the line set will take: out of the wall, along the siding, and down to the outdoor unit. Measure the real path, not a straight line.
If the route is shorter than 25 ft, you'll coil the extra neatly as the manual shows. If it's longer, order a longer line set now (35 or 50 ft, or up to 75 ft with a coupler kit). Our line set length guide walks through measuring.
Step 5: Book the electrician and the permit
The system needs a dedicated circuit from your panel, a breaker, and a disconnect switch within sight of the outdoor unit, connected to the unit with a whip. Many towns require a licensed electrician for the new circuit, and many want an electrical permit.
Schedule the electrician for the afternoon of install day or the day after. Hand them the manual so they size the breaker and wire from it.
Next: which of these steps should you hire out?
Step 6: Mount the wall plate
Hold the mounting plate where the manual's clearances put it, level it, and mark the screw holes. Get at least two screws into studs if the framing allows, and use proper anchors for the rest.
A plate that's level, or tipped very slightly toward the drain side if your manual says so, keeps condensate flowing out instead of dripping. Recheck it with the level once the screws are tight.
Step 7: Drill the 3 in hole
Mark the hole position from the plate and the manual. Before drilling, check the wall cavity for wires, pipes and studs at that spot.
Drill from inside with the 3 in hole saw, angled slightly down toward the outside so water can't run back in. Finish from outside if the bit won't reach. For brick, block or stone, switch to a core bit.
Fit a wall sleeve if you have one, so the siding and insulation don't chafe the lines.
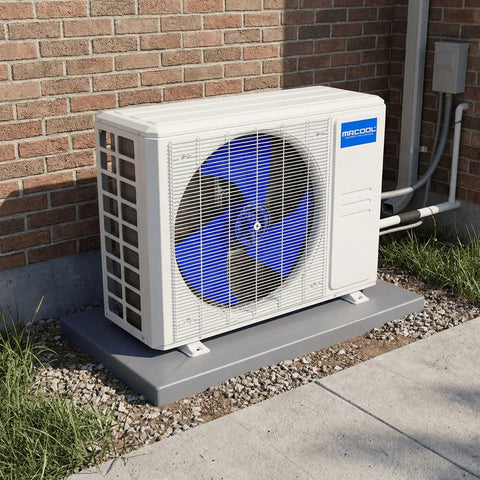
Step 8: Set the pad or bracket and the outdoor unit
Set the equipment pad on firm, level ground, or mount the condenser wall bracket into solid framing or masonry. Level it in both directions.
Lift the outdoor unit with two people and set it in place. Keep the service side facing where you can reach it later. Bolt it down as the pad or bracket instructions say.
Step 9: Route the lines and hang the indoor unit
Uncoil the line set slowly and straighten it with your hands. Bend it in smooth curves, never sharp ones, because a kinked line can't be fixed by cutting.
At the indoor unit, bundle the line set connections, the drain hose and the cable in the arrangement the manual shows. Feed the bundle through the wall hole from inside, then hook the indoor unit onto the top of the plate and secure the bottom the way the manual shows.
Step 10: Connect the Quick Connect fittings
This step is the one that replaces an HVAC tech, so take your time. Make the connections in the order your manual gives.
- Remove the caps from one pair of fittings right before you join them.
- Line the fittings up straight and start the threads by hand. If a nut won't turn freely by hand, back it off and try again. Never force a cross-threaded fitting.
- Hold the body with one wrench and turn the nut with the other, in one steady motion, to the torque in the manual.
- Repeat for the second line, then at the other end.
Check each connection for leaks the way the manual describes before you move on. Don't loosen a fitting after it's tightened to spec.
Step 11: Connect the cable between the units
Run the DIYPro armored cable from the indoor unit to the outdoor unit and land each wire on the matching terminal, using the wiring diagram in your manual. Tighten each screw and tug each wire to make sure it's held.
Leave the outdoor unit's power side for the electrician unless you're doing that work yourself and your town allows it.
Step 12: Check the drain
Follow the drain hose from the indoor unit to where it exits outside. It must slope downhill the whole way with no loops or high spots.
Pour a little water into the indoor unit's drain pan and watch it come out the end of the hose. Fix the route now if it doesn't, while everything is still easy to reach.
Step 13: Power: circuit, breaker, disconnect, whip
The electrician runs the new circuit from your panel, installs the breaker, mounts the disconnect switch near the outdoor unit, and connects it to the unit with the whip. Breaker size and wire gauge come from the installation manual for your size.
Keep the breaker off until the electrician is done and everything is buttoned up.
Step 14: Cover the lines
Fasten the line set, drain and cable to the wall, then cover them. A LineGuard 12 ft cover kit runs from $129 (prices as of November 2026) in white, gray or tan and protects the insulation from sun and yard tools.
Step 15: Start up and test
Turn on the breaker and the disconnect and follow the startup steps in the manual. Set cooling with the remote, wait several minutes, and feel the air from the indoor unit. Then switch to heat and check again.
Once it runs in both modes, set up the MRCOOL app over Wi-Fi. Our app setup guide covers that, plus Alexa and Google Assistant.
Step 16: Register the warranty and save your photos
Register the system with MRCOOL. The 5th Gen warranty is 5 years on parts and 7 years on the compressor, with a lifetime compressor option through registration and MRCOOL's paid Care program. It covers a DIY install when the system is registered.
Keep photos of the plate, the fittings, the cable terminals, the disconnect and the finished outdoor unit with your receipt.
Who does each step?
| Step | Usually done by | What you need |
|---|---|---|
| Check boxes, read manual, plan route | You | Tape measure, the manual |
| Wall plate and 3 in hole | You | Drill, hole saw, level, stud finder |
| Outdoor unit on pad or bracket | You and a helper | Pad or bracket, a second person |
| Line set, drain, cable | You | Two wrenches, torque wrench, wiring diagram |
| Circuit, breaker, disconnect, whip | Licensed electrician in many towns | Permit if your town requires one |
| Line cover, startup, app, registration | You | Cover kit, phone, Wi-Fi |
Next: what should you know about the R-454B refrigerant in your line set?
What if something doesn't go to plan?
What if my wall is brick or block?
Use a core bit instead of a hole saw and go slow. Masonry anchors replace the wood screws for the plate and the wall bracket. If you've never cored masonry, this is the step to hire out.
What if the line set is too long?
Coil the extra in loose, even loops as the manual shows, usually near the outdoor unit. Don't cut it and don't crush it behind the unit.
What if I'm installing more than one room?
A multi-zone 5th Gen system follows the same steps for each room, with its own line set per room into one outdoor unit. The limits are in the multi-zone manual: up to 75 ft per room and 24 ft of height difference between indoor units. Read how multi-zone works first.
What if it doesn't cool or heat after startup?
Run the owner checks in our not cooling or heating guide first. For anything beyond that, contact MRCOOL support at support.mrcool.com with your model and serial number. We don't troubleshoot installs by phone.
Ready to plan yours?
Start with step 4 today: pick both spots and measure the line route with a tape. That one number tells you whether the 25 ft line set in the box is enough.
Then pick your size with the sizing guide and shop the DIY 5th Gen single zone system, from $2,329 for the 9K. If you'd like a second opinion on size, call us at +1 (844) 999-9725, Monday to Friday, 9 AM to 5 PM EST.